Share:

.svg)
.svg)
Good API documentation makes it easy for developers to get started with an API by providing all the necessary information upfront. This saves developers from having to go through trial and error to figure out how an API works.
Ultimately, APIs that are well-documented have a much better developer experience, increased adoption rates, and better collaboration between the people who make APIs and the developers who use them.
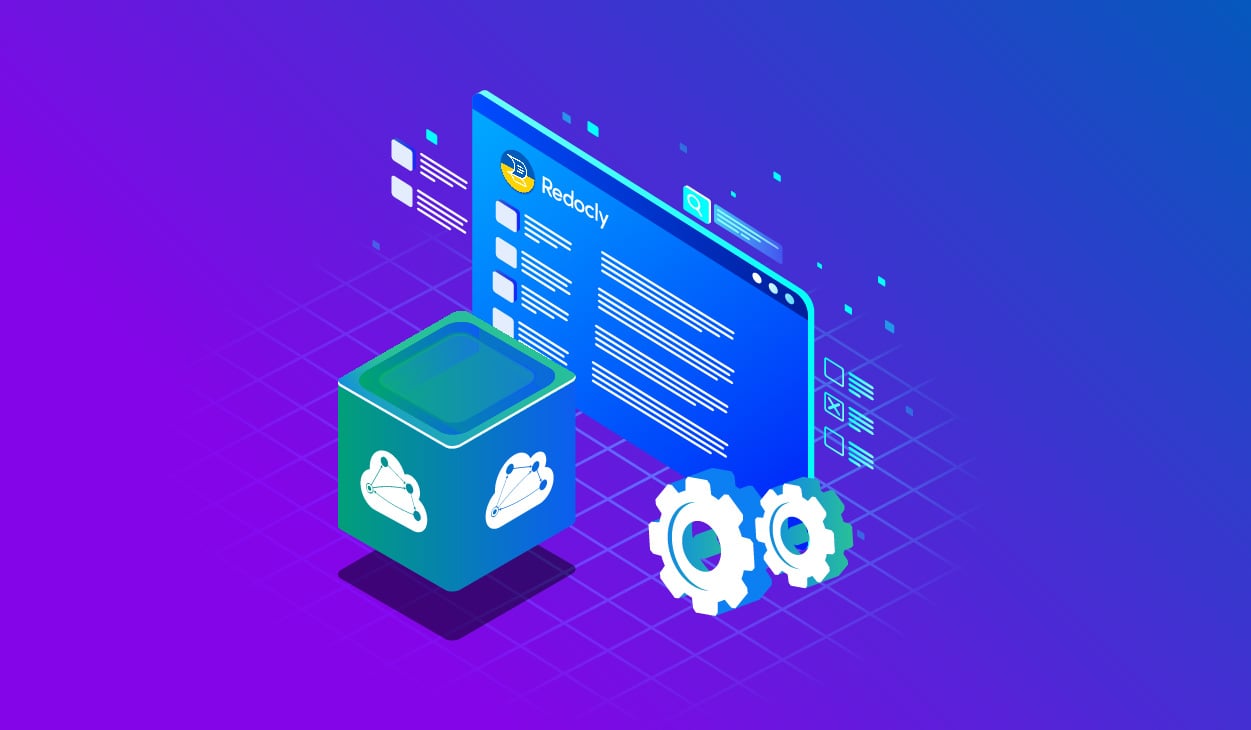
ReadMe, a popular API Documentation platform, ticks many boxes when building a good API portal; interactive documentation, recipes for popular use cases, change logs, metrics and a community.
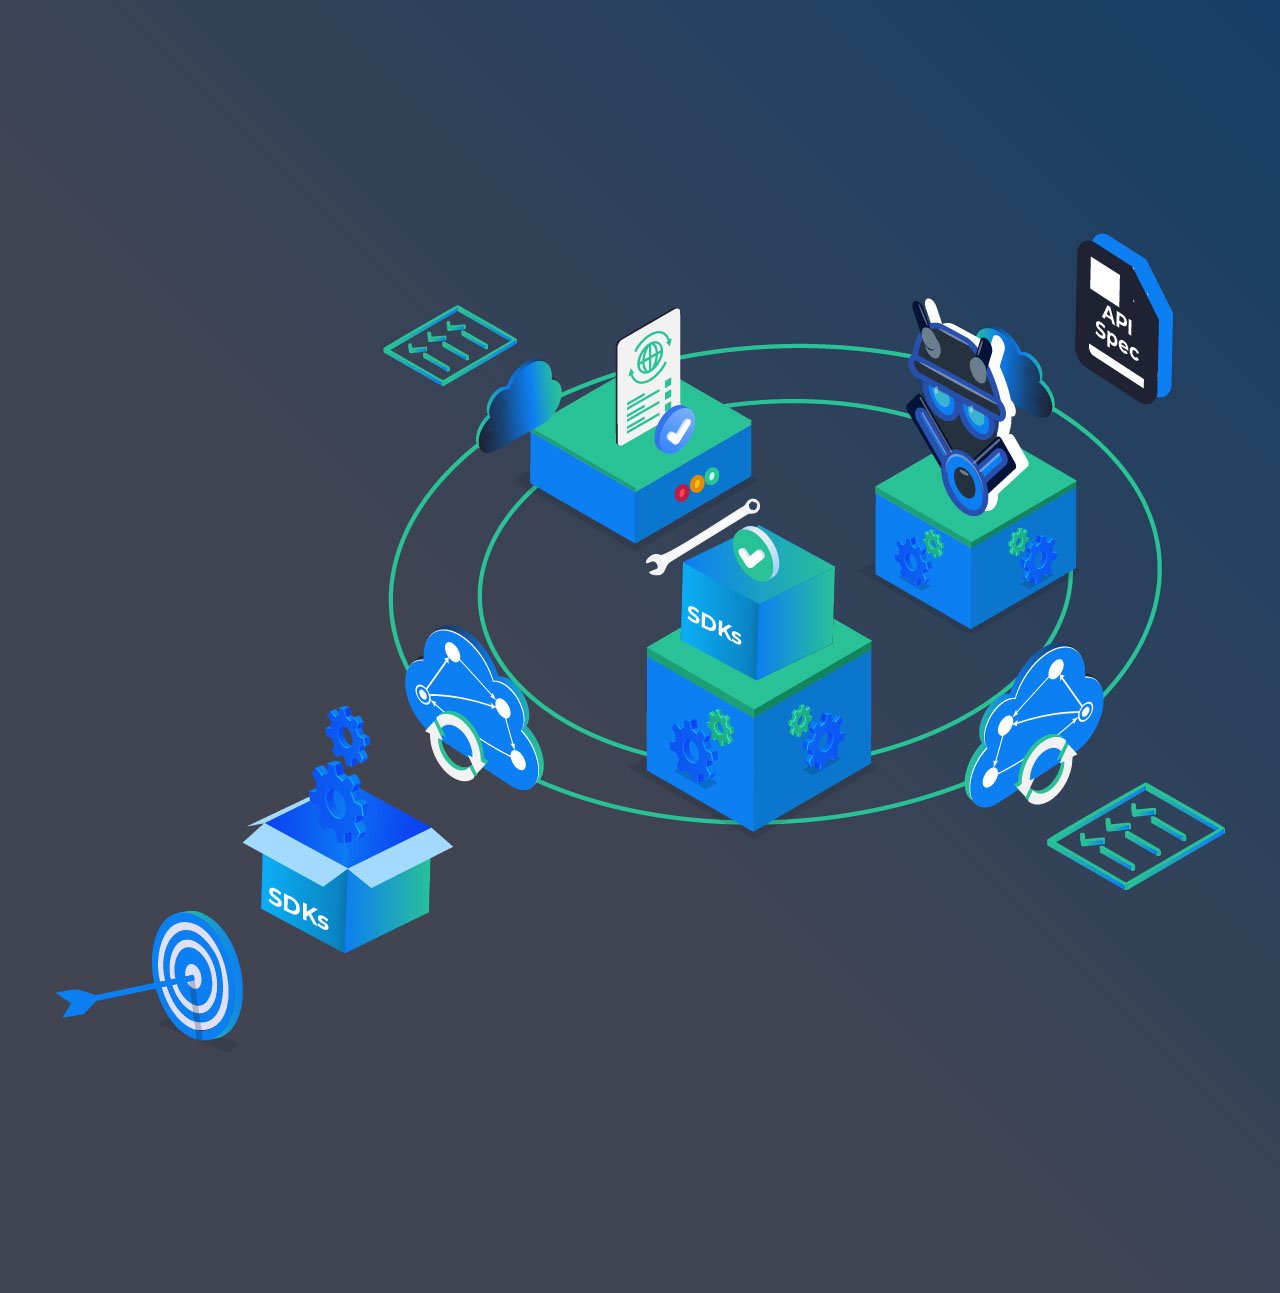
However, creating an API portal is just the first step toward a good developer experience. The next step is to provide easy-to-use software development kits (SDKs) making it easier for developers to consume your API. SDKs take care of the plumbing required for building an API integration. With SDKs, developers can focus on creating business value rather than getting bogged down writing code to handle authorization, request serialization, response handling and retries.
With APIMatic, you can instantly generate SDKs in multiple programming languages with little to no development effort. This allows you to provide SDKs with usage examples in the programming language of your developers’ choice.
In this tutorial, we'll show you how to take your API developer experience to the next level by using APIMatic to generate SDKs and incorporate them into your ReadMe portal.
The Proof is in the Portal
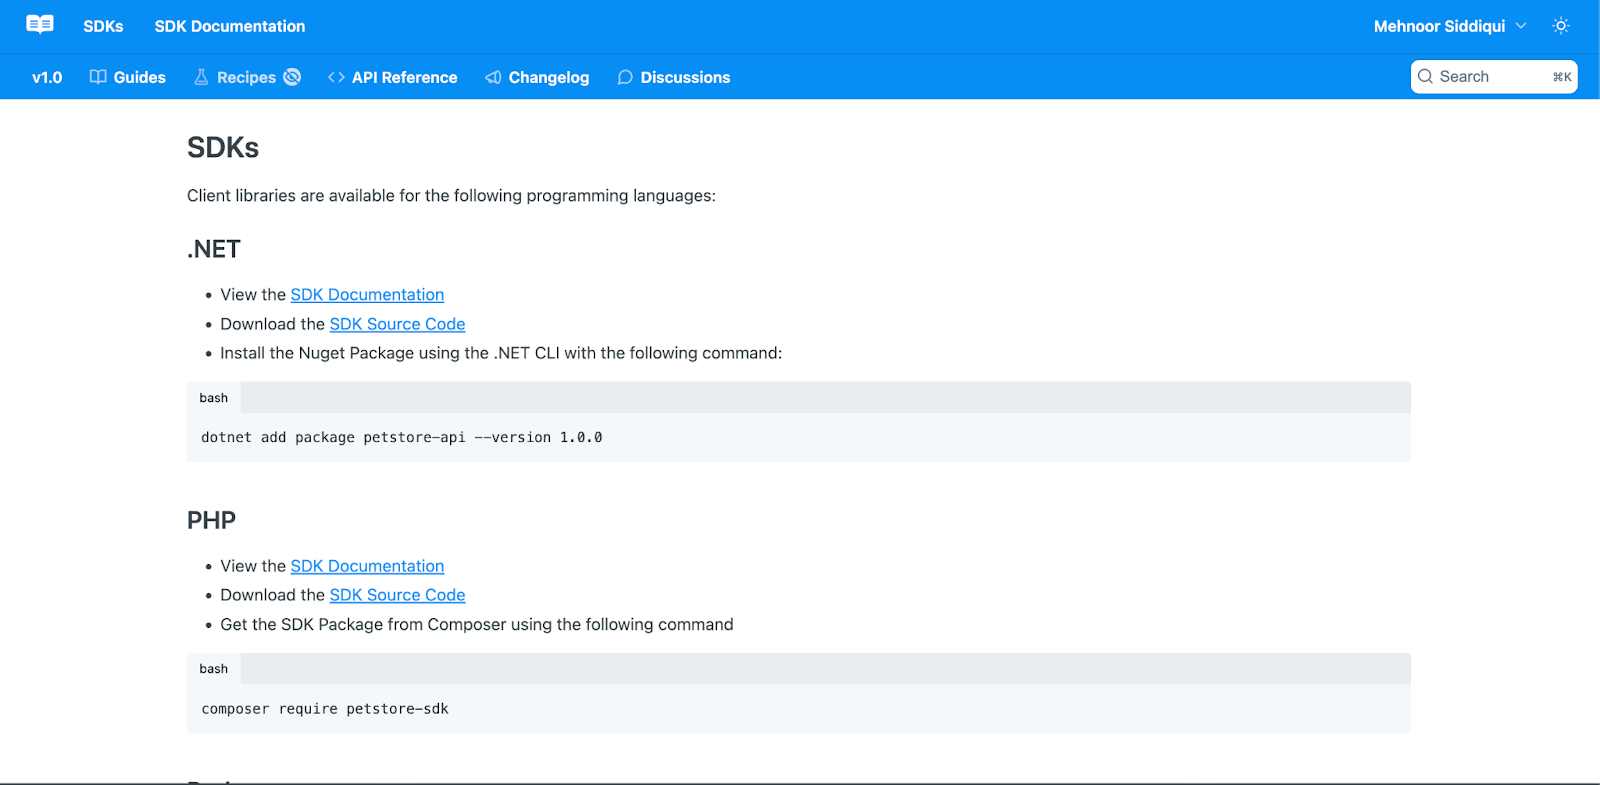
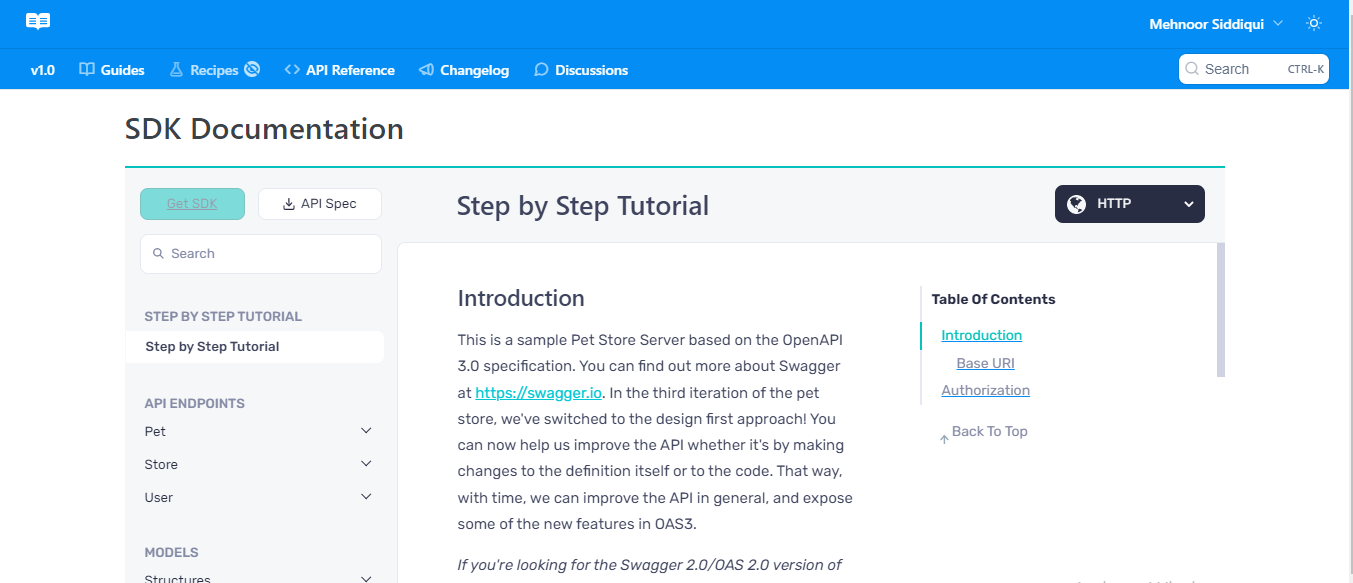
Before we dive in, here is what your ReadMe Portal can look like with APIMatic SDKs:
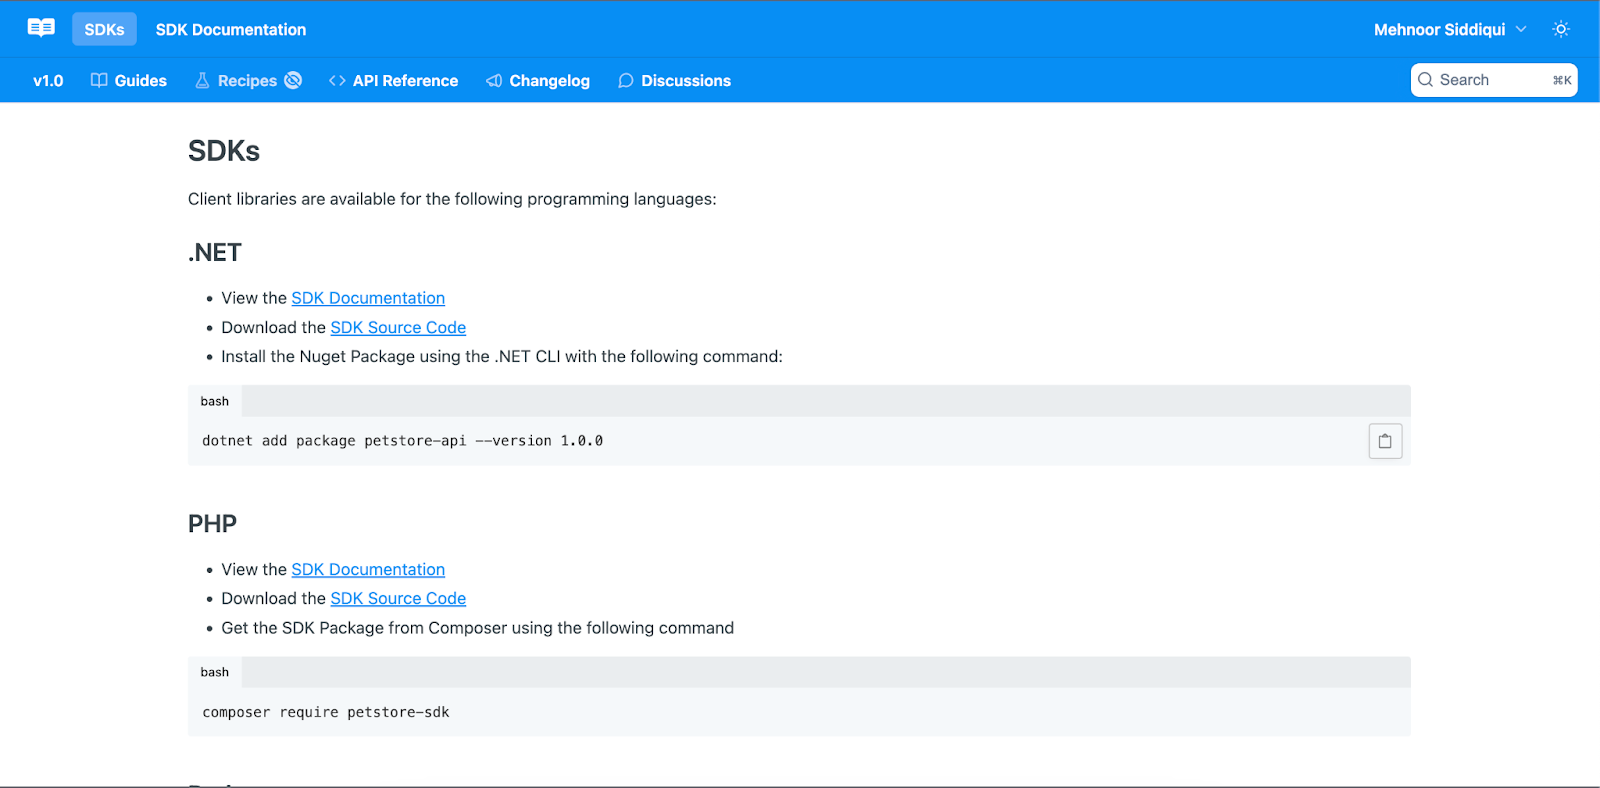
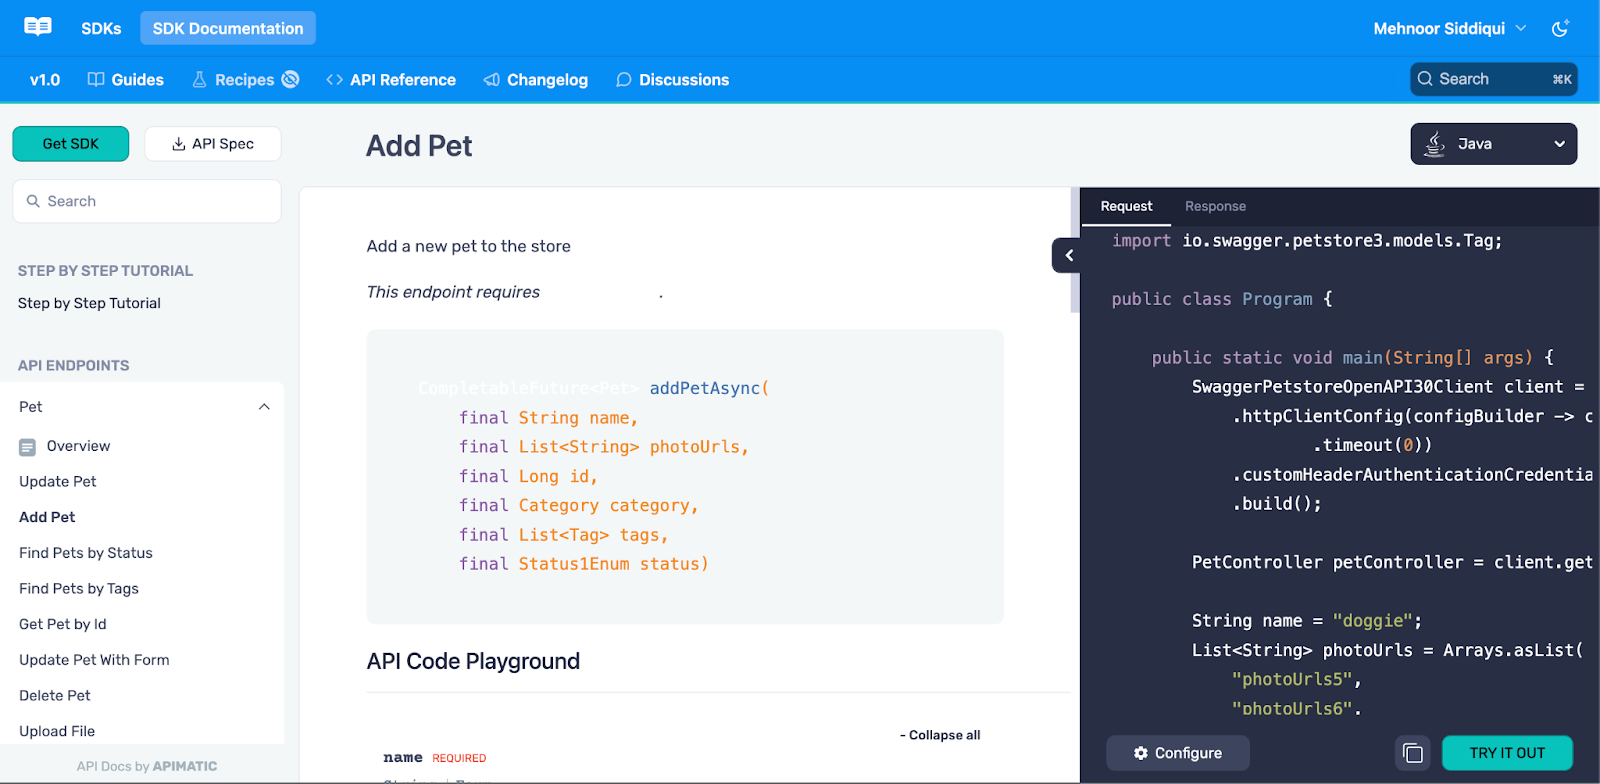
APIMatic not only generates SDKs in multiple programming languages but also generates SDK documentation which includes getting started guides, idiomatic code samples for each API endpoint as well as guided walkthroughs. Developers can interactively execute popular API workflows from the documentation.
You can embed APIMatic SDK documentation in your ReadMe Portal, bringing together all developer-related content in one place.
For a quick overview of what APIMatic’s SDK Documentation looks like, take a look at this example.
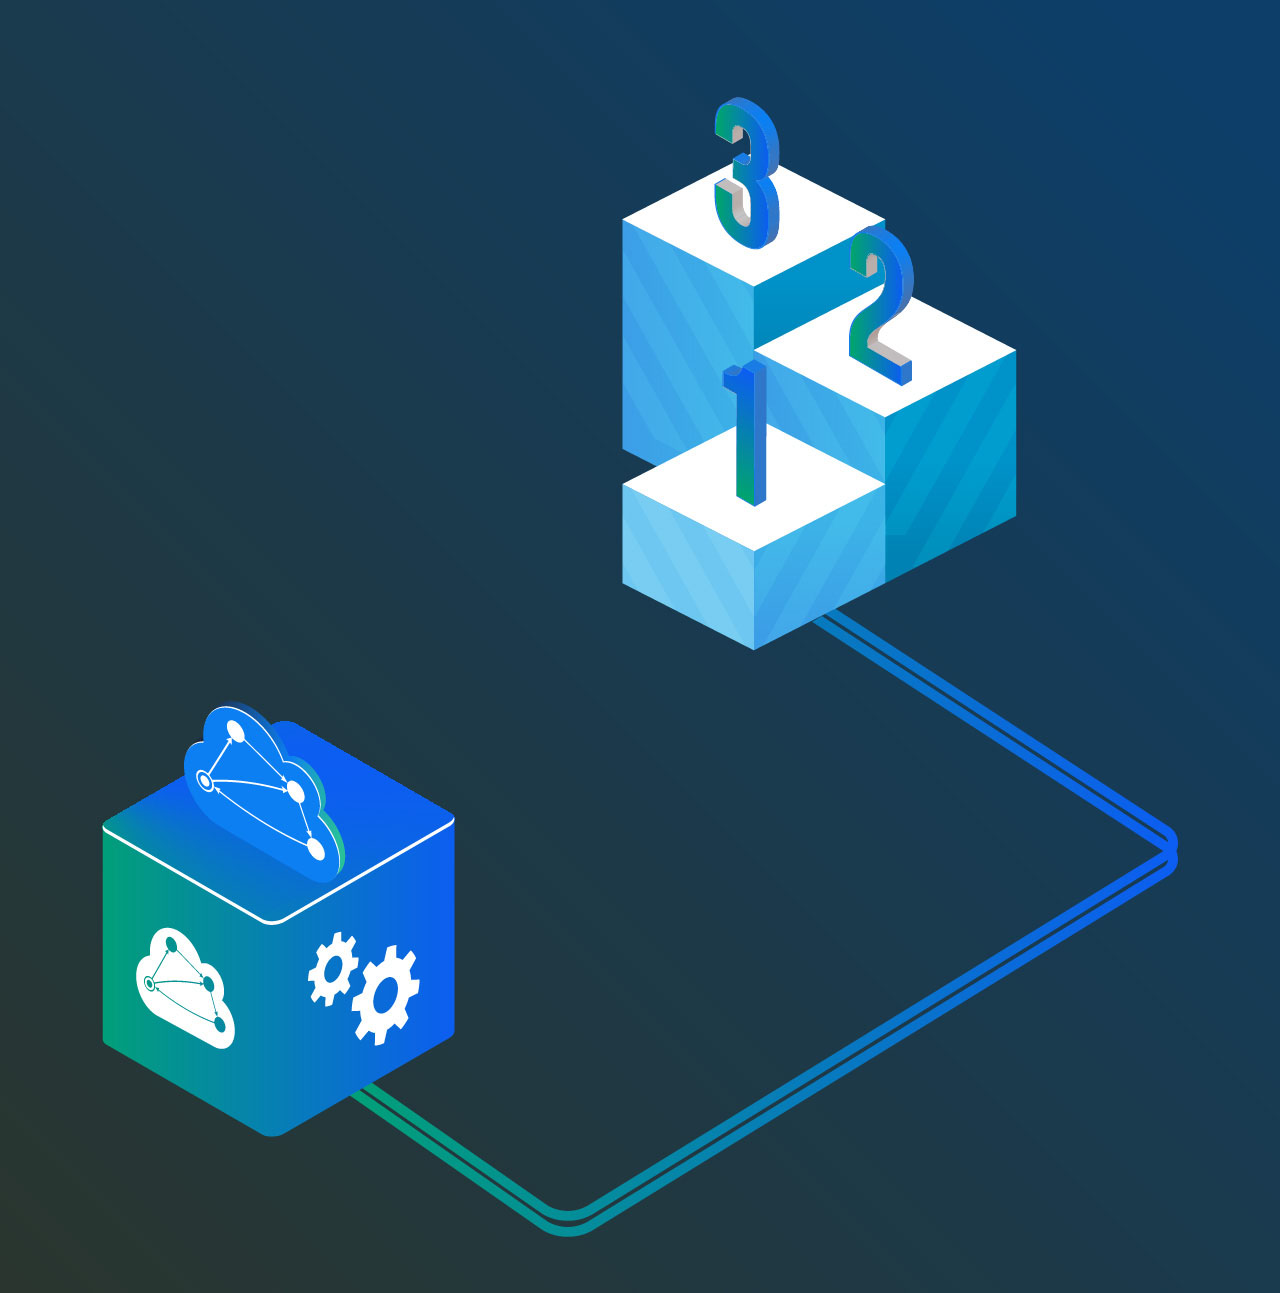
Signup, Setup, GO!
In this section, we’ll walk through getting started with APIMatic. If you already have a generated portal with APIMatic skip to the next section.
Start by signing up to use APIMatic. Your 2-week trial gives you access to all features so you can test the platform’s SDK generation capabilities.
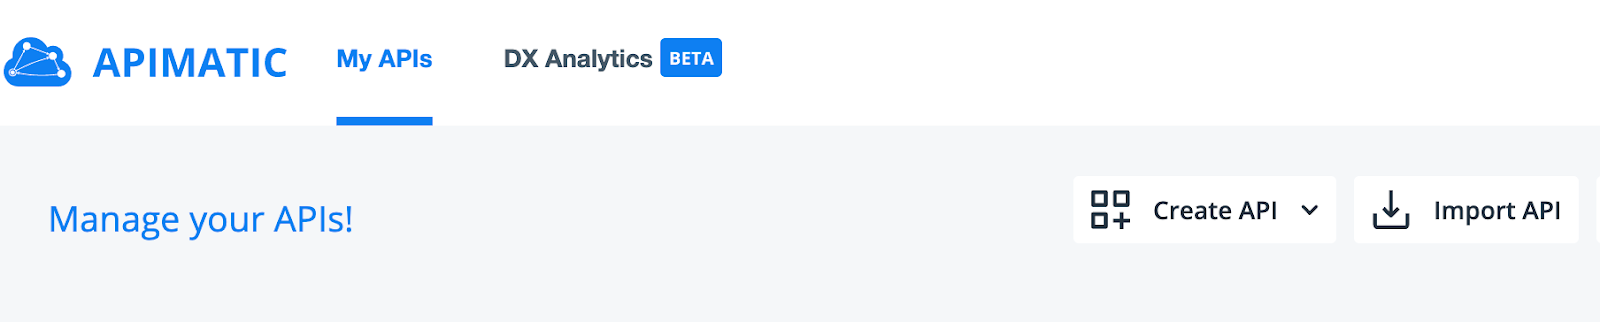
- Login to APIMatic and on the APIMatic Dashboard, click Import API.
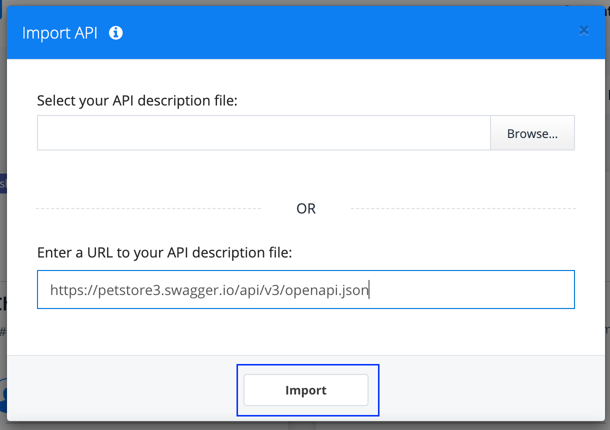
- Either upload an API definition file or enter a URL that points to the API definition file. Then click on Import.
- After clicking Import, you are provided with a validation summary that lists errors, warnings, and messages encountered while validating your API definition for semantic and syntactic correctness.
If any errors are encountered in the API definition, you will be required to fix them before proceeding. You can resolve these errors by editing the API definition via APIMatic’s no-code API editor.
To access the API Editor, click the Edit button. For a detailed look at how the API Editor can be used to modify your API definition, refer to APIMatic’s documentation. If you have trouble fixing validation errors and would like some guidance, drop an email at support@apimatic.io.
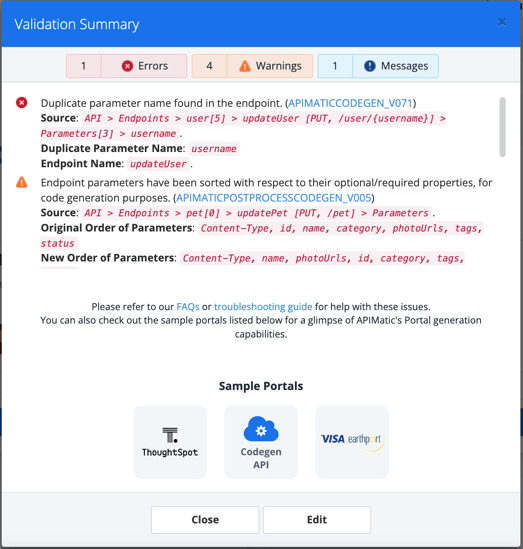
If there are no errors, you can click on Proceed to move to the next step.
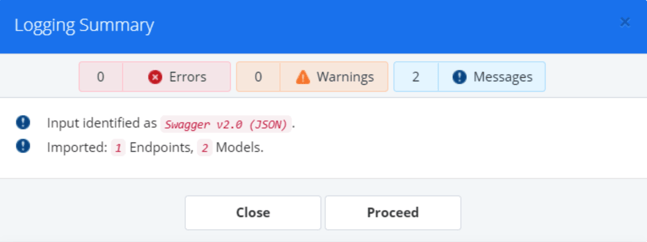
- Upon successful validation, your API is imported and displayed as an API entity in the APIMatic Dashboard.
Click the Generate button and then click Proceed on the API validation logs window.
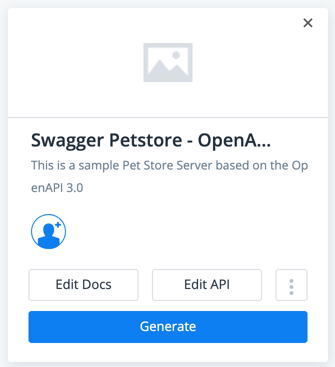
- This will take you to a window with options to generate the portal or SDKs. Click on Preview API Portal.
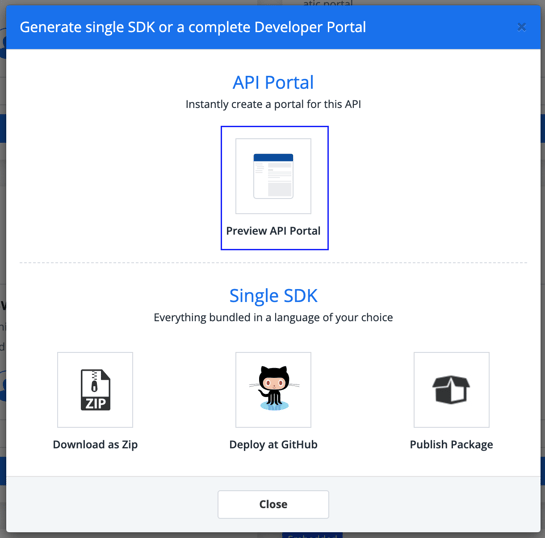
- You will be redirected to a new window to preview your generated SDK documentation. Explore the generated output and check out the language-specific documentation, downloadable SDKs, and code samples.
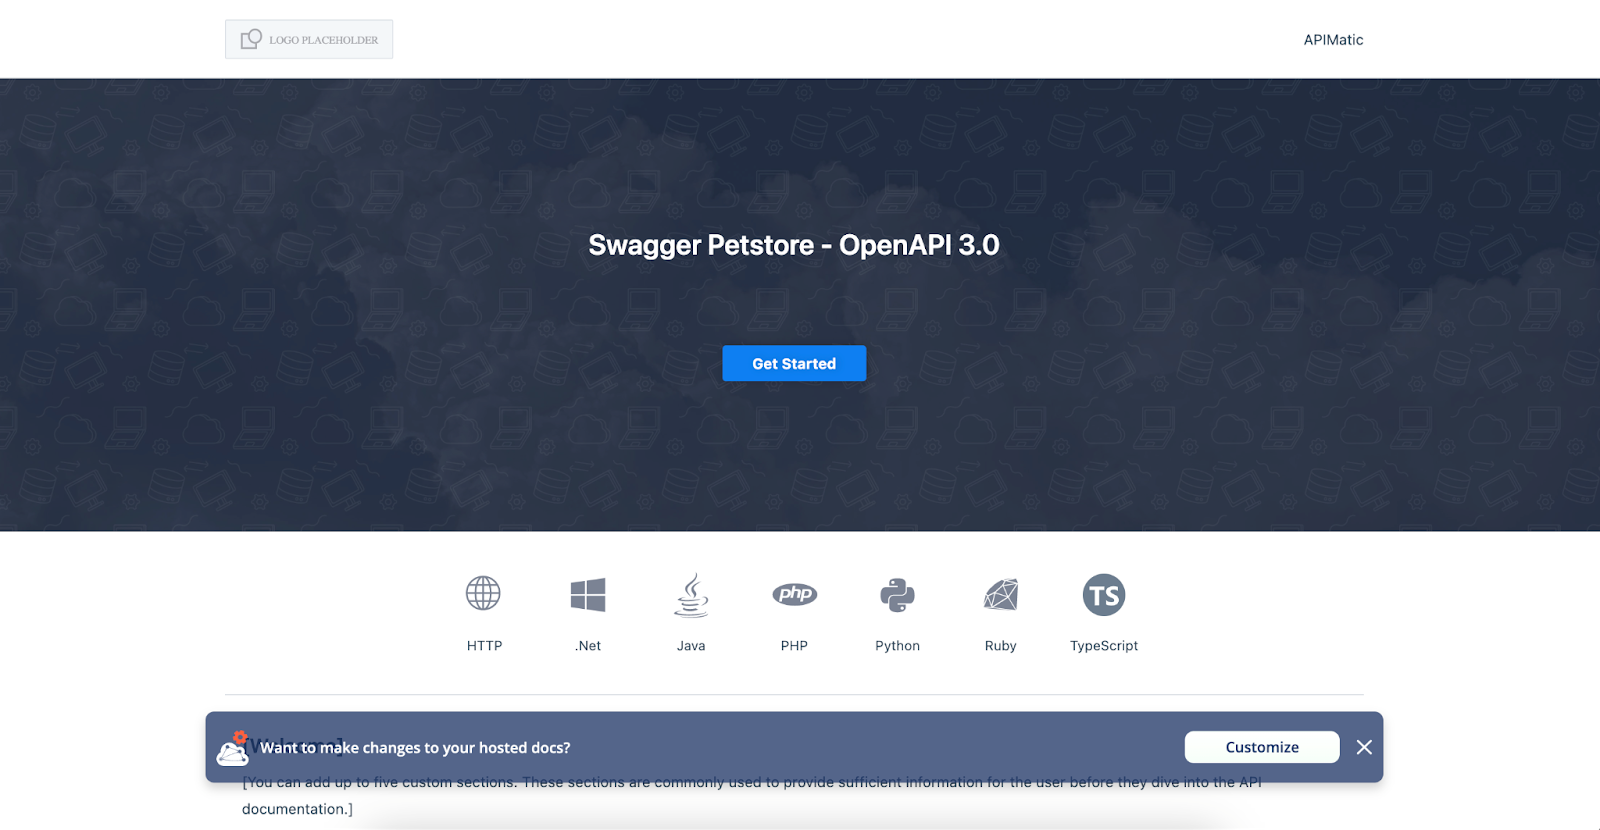
- Once you’re done exploring, you can publish the SDK documentation so it is publicly accessible.
Click the Customize button on the banner that appears at the bottom of your screen. This will take you to the portal editor, where you can customize and publish your documentation.

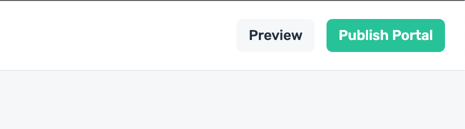
- Click on the Publish Portal button on the top right of the Portal Editor.
- You will be asked whether you want to publish this as a standalone hosted portal or as an embedded portal. Select the Hosted option.

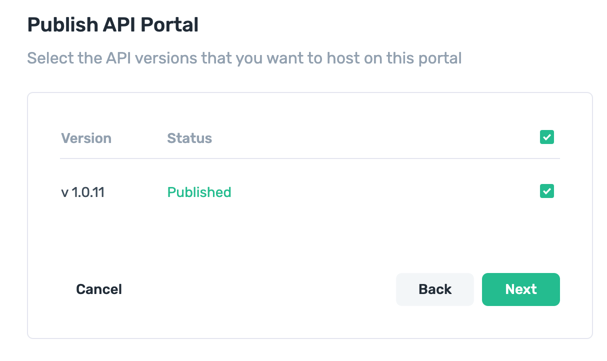
- Select the API version for which you want to publish this documentation and click Next.
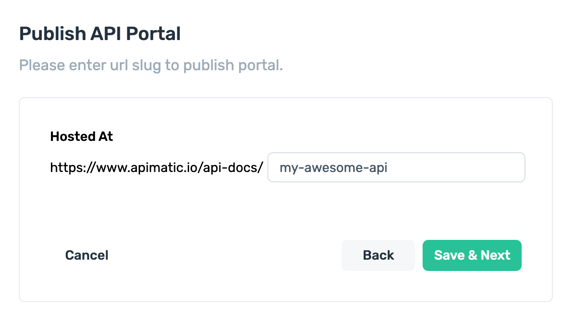
- You need to provide a slug where this documentation will be hosted. The slug can contain one or more words separated by a dash "-".
Provide a unique slug in the textbox and click the Save & Next button. If the provided slug is not already taken, you will be able to proceed to the next step, else you will be prompted to provide a new slug.
- With your unique URL set up, you can click the Publish button to initiate the publishing process. Publishing may take a few seconds, you should receive an email notification as soon as the process is complete.
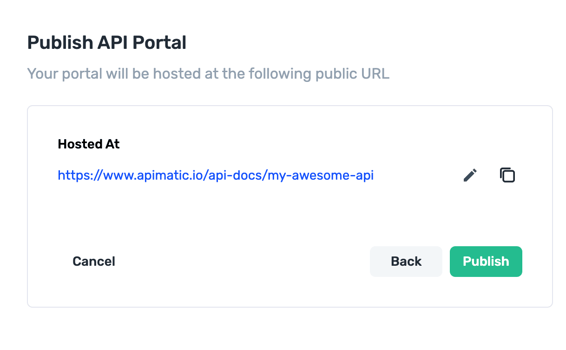
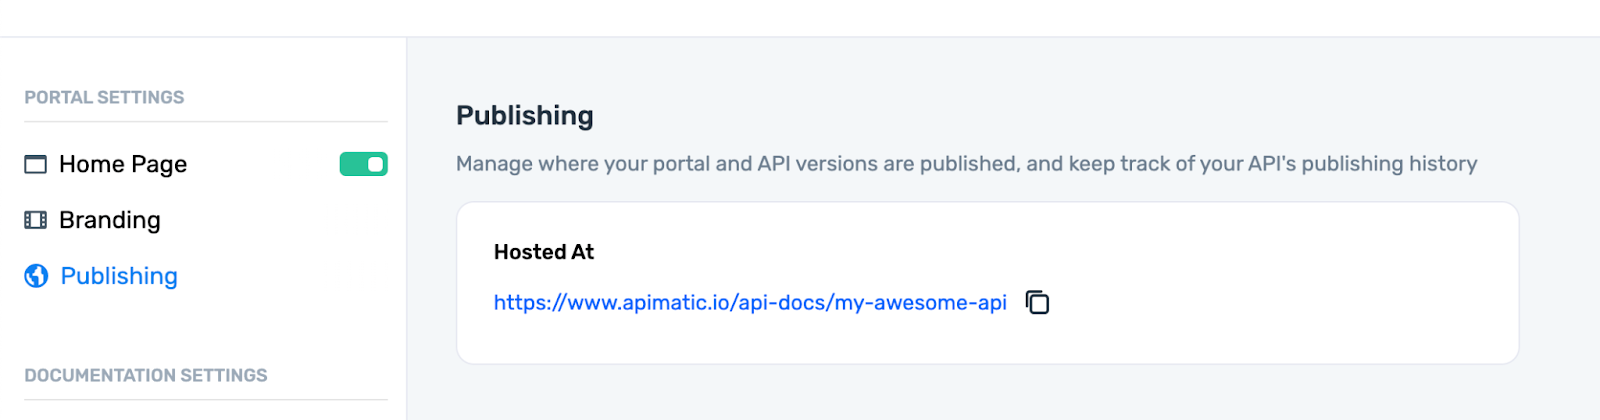
- Once publishing is complete, visit your unique URL to view your SDK documentation. You can also find the URL in the portal Settings > Publishing section of the portal editor.
Integrating APIMatic with ReadMe
Note: This guide assumes that you already have an API Documentation portal set up with ReadMe.
Create a Custom Page for SDKs
The first step is to create a custom page in your ReadMe project for your SDKs. This page will list all available SDKs, link to their reference documentation and provide basic instructions on setting up the SDK.
- Open up your ReadMe project and navigate to Custom Pages under the documentation section in the sidebar.
- Click Add custom page to add a new page and provide a name - something descriptive like <Your API Name> SDKs. Ensure that you are editing the page in markdown mode.
- We’ve created a markdown template. Copy the markdown from here and paste it into your custom page. You will need to replace the {YOUR DOCS SLUG} and {YOUR API KEY} placeholders with the actual values for your SDK documentation.
Detailed instructions are below:
- {YOUR DOCS SLUG} represents the slug you defined when publishing your APIMatic Portal. To locate this value, hover over the top left corner of your API definition tile in the APIMatic Dashboard and copy the link that appears. You will just need the last section of this url e.g https://www.apimatic.io/apidocs/{YOUR DOCS SLUG}.
Replace all instances of {YOUR DOCS SLUG} with this value.
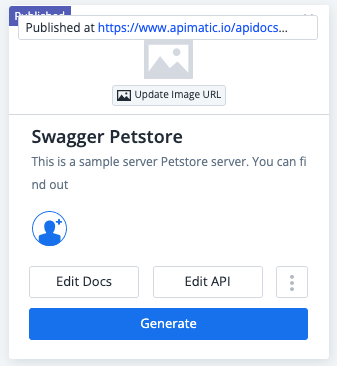
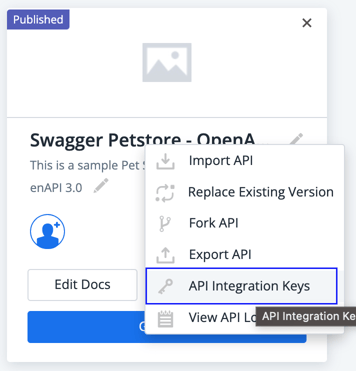
- {YOUR API KEY} represents a unique identifier for your SDK documentation. In order to access the API Key for your SDK documentation, click the kebab menu (three vertical dots) on the API definition tile to retrieve the API integration key.
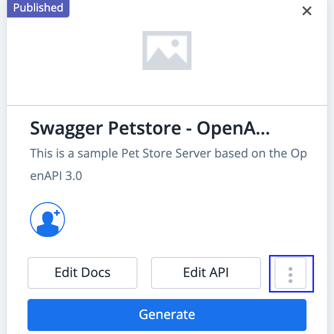
- From the context menu, select API Integration Keys.
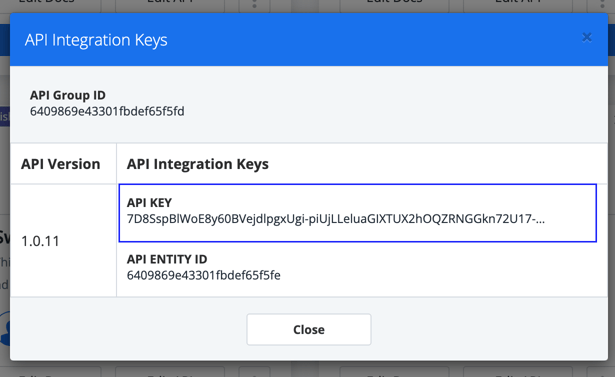
- Copy the property titled API KEY. In the markdown template, replace all instances of {YOUR API KEY} with this value.
This concludes your setup for this custom page. Your new page lists all your SDKs. You can save your changes and proceed to the next step.
Create a Link to the Custom Page
By default, links to custom pages are not added to the ReadMe portal. These links need to be added explicitly.
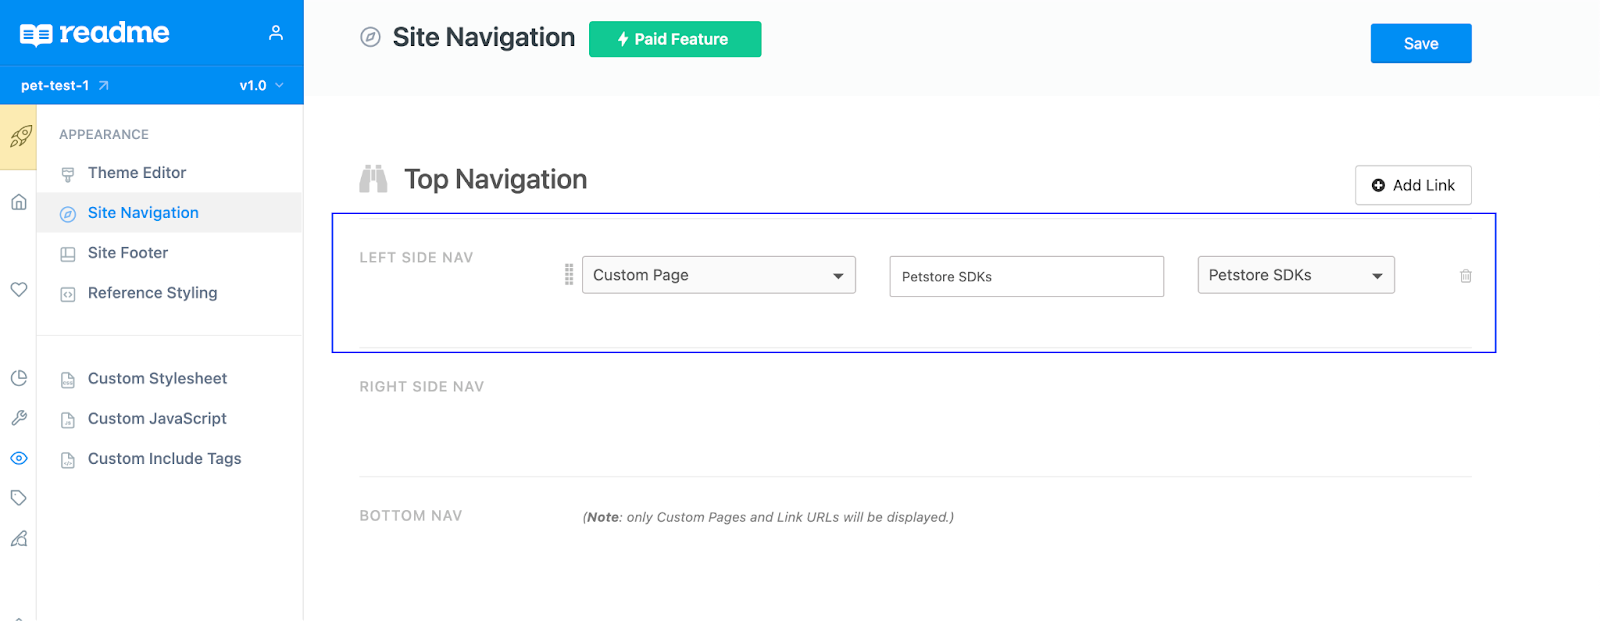
- Navigate to Appearance > Site Navigation
- Click on Add Link. This creates a new link in the navigation bar.
Select type Custom Page and select the page you just created from the dropdown. In the Title field, provide the name you want to appear in your navigation bar and click Save.
This is how your newly created page should appear in your top navigation bar. Visitors to your ReadMe portal can use this link to navigate your SDKs page.

[Optional] Embed APIMatic’s SDK Documentation in ReadMe
Note: This section is considered optional because your SDK documentation is already published and publicly accessible, embedding it in your Readme portal is a nice touch, but not a requirement.

In the previous section, we created a page that redirects to the SDK documentation hosted by APIMatic. We can go a step further and embed the SDK documentation inside a ReadMe portal. This process is more involved than the previous section and requires access to features only available in ReadMe’s business edition.
Generate an Embed Script
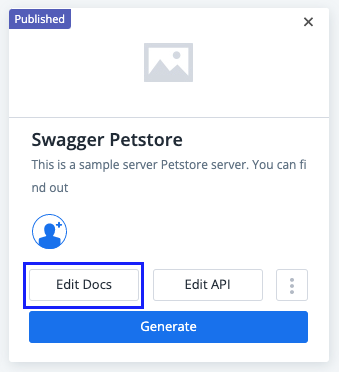
- APIMatic’s SDK Documentation can be embedded in any web page via an embeddable script. To generate the embed script for your APIMatic docs, navigate to the APIMatic dashboard, locate your API definition file, and click Edit Docs to navigate to the Portal Editor.
- In the top left corner of the Portal Editor, click the Publish Portal button.

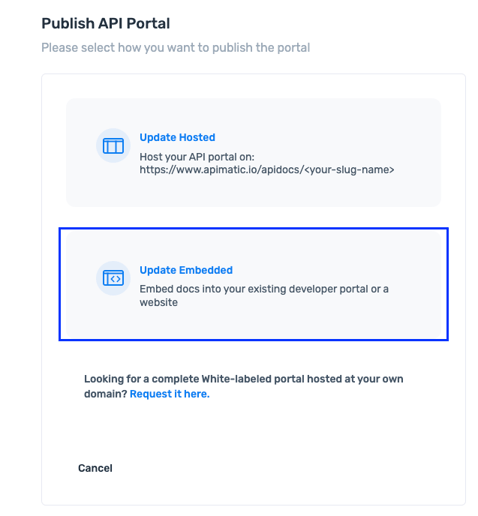
- Choose the Update Embedded option on the next screen.
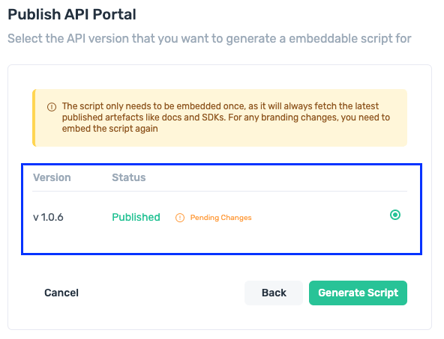
- Select the API version you want to generate the embed script for and click Generate Script.
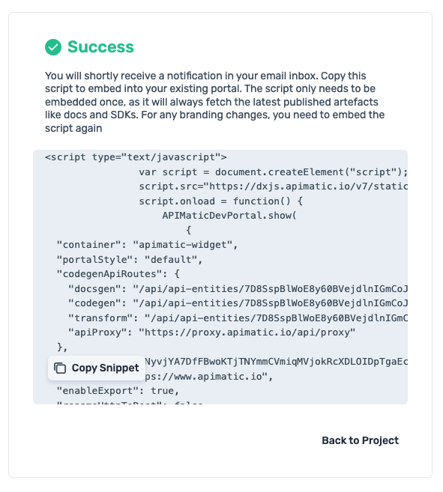
- You will be presented with a snippet containing the script to add to your site. You do not need this entire script, just copy the codegenApiRoutes and apiKey. You will need them in the next section.
Add embed script to ReadMe portal
An embed script that was generated by APIMatic in the previous step now needs to be added to the ReadMe portal.
- Open up your ReadMe project and navigate to Appearance > Custom Include Tags.
- Scroll down to the Footer HTML section. Copy the provided script and paste it into the Footer HTML text box. (script provided here for your convenience.)
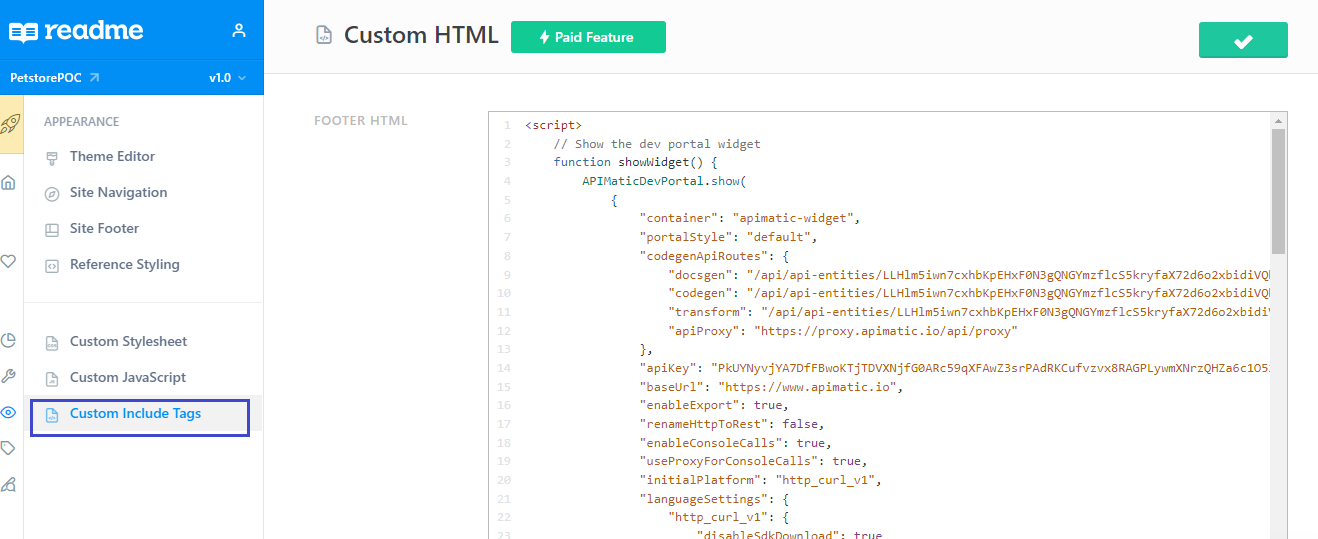
- The provided sample script contains some placeholder values that need to be replaced with actual values corresponding to your APIMatic portal. From the embed script you retrieved from APIMatic, copy over the values for the codegenApiRoutes and apiKey properties and click Save.
Create a custom page for Embedded SDK Documentation
Similar to how a custom page was created for SDKs, you create a custom page for the embedded SDK documentation.
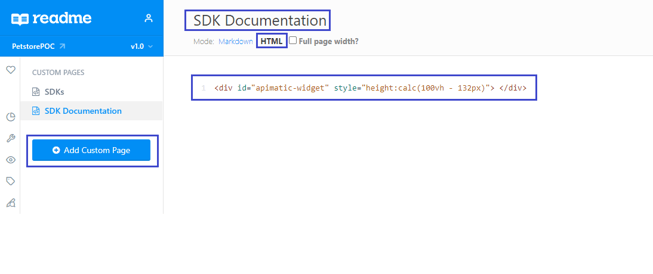
- Navigate to Documentation > Custom Pages and add a new custom page.
- Provide a descriptive name to the page e.g. SDK documentation and switch to HTML mode.
- Paste the following div tag inside the HTML code area and hit Save.
<div id="apimatic-widget" style="height:calc(100vh - 132px)"> </div>
The APIMatic SDK documentation will be rendered inside this div.
- Next, add a navigation bar link for this custom page similar to how you created a link to the SDKs page in the previous section.
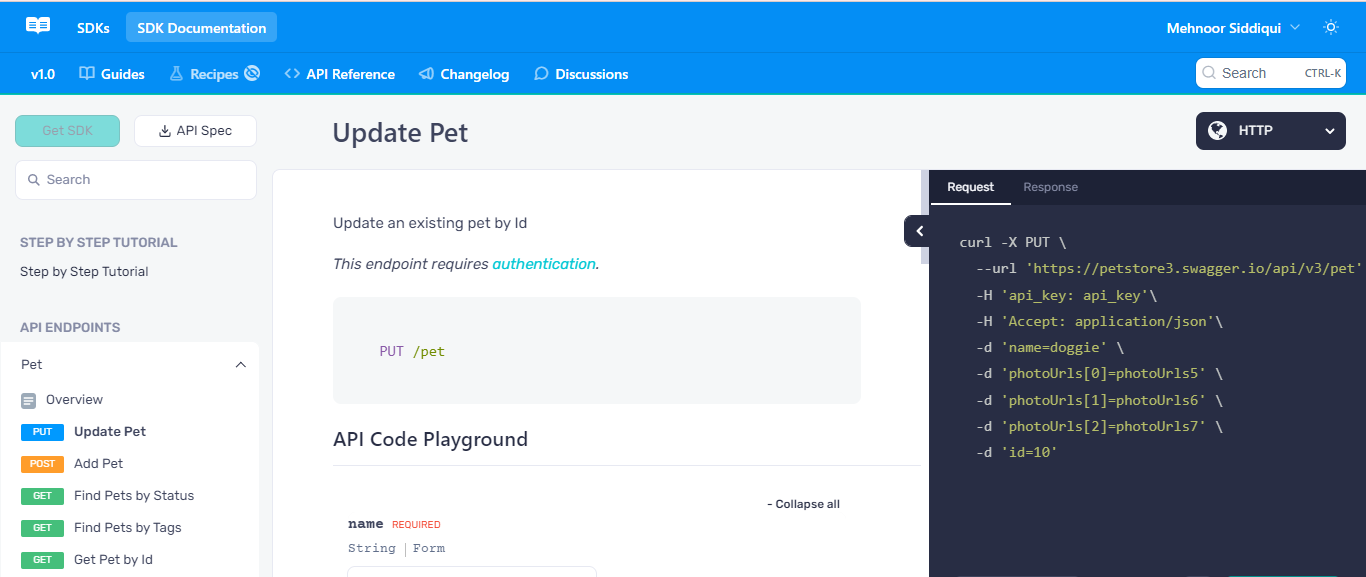
With all the above steps completed, you can navigate to your newly created page and view APIMatic’s SDK documentation rendered inside your ReadMe Portal.
Add a custom stylesheet
You will notice that although the SDK Documentation is rendered correctly, there are wide borders on both sides of the portal and the custom page title looks awkward.
To improve how this page looks we’ll use a custom stylesheet.
- Navigate to Appearance > Custom Stylesheet.
- Copy the stylesheet provided here into the Custom CSS section and click Save.
Your SDK Documentation should now fit the entire page and the page title should be gone.
What’s Next?
In conclusion, using APIMatic and ReadMe together can be a powerful combination for creating a comprehensive and developer-friendly experience for your API Consumers.
If you liked what you read in this blog, sign-up for APIMatic and get started! We would love to see what you build with APIMatic.
Tweet your updated ReadMe Portals to us at @APIMatic or drop a mention on Linkedin.